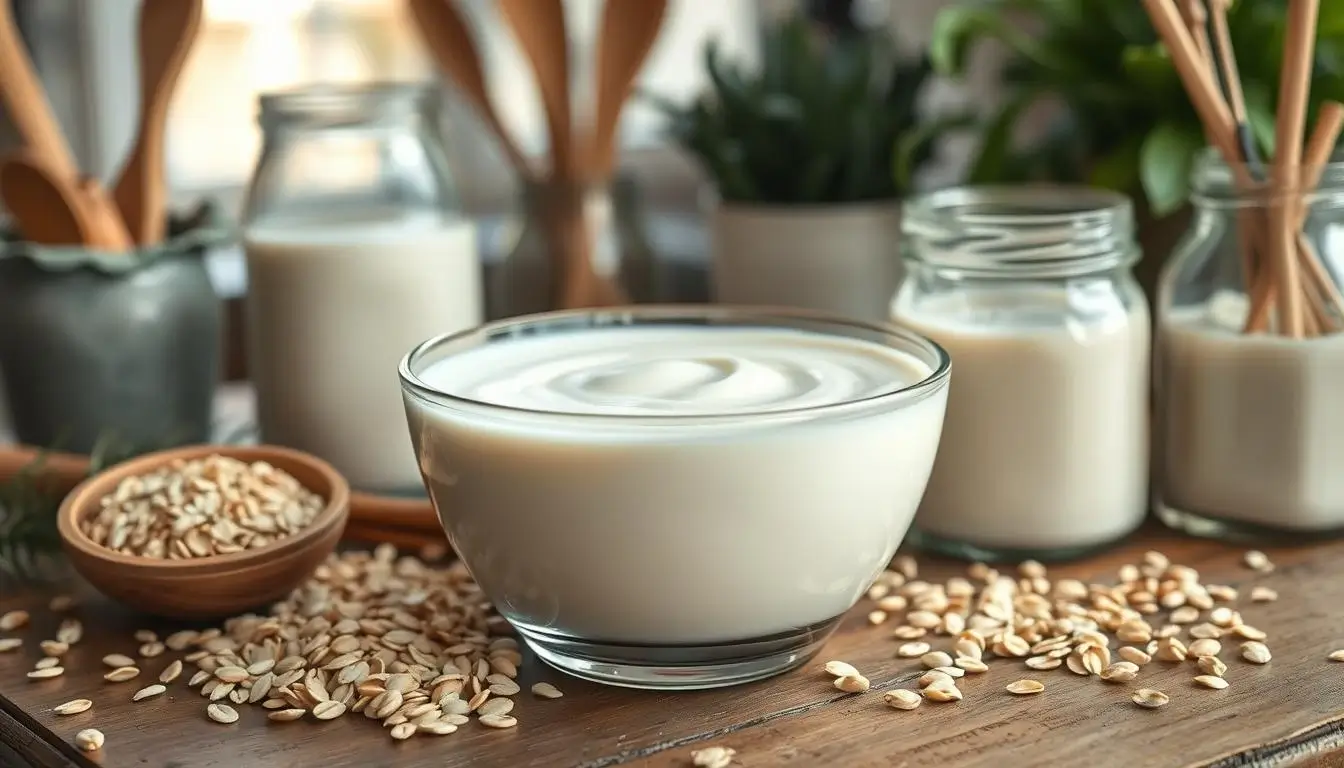
I love coffee and always looked for a creamy, dairy-free option. That’s when I found homemade oatmilk creamer. It’s not only dairy-free and vegan, but also easy to make at home. No more unhealthy additives in store-bought creamers – this dairy-free oat milk creamer is a game-changer.
In this guide, I’ll teach you to make a rich, creamy oatmilk creamer for your coffee or tea. It’s perfect for those who want to reduce dairy, live a vegan lifestyle, or try healthier options. Get ready to make your daily coffee even better!
Table of Contents
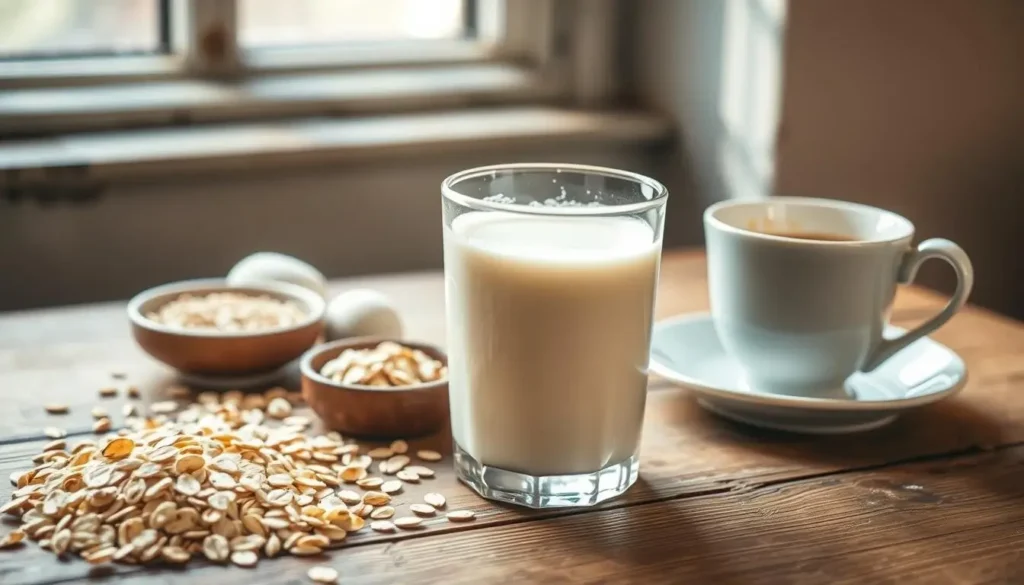
Benefits of Making Oil-Free Oat Milk Creamer at Home
Making your own oil-free oat milk creamer at home is a great choice. It’s healthier and cheaper than store-bought plant-based creamers. Plus, it’s better for the environment.
Health Advantages of Oil-Free Options
By making your own healthy oat creamer, you skip the bad stuff in commercial creamers. You get a creamy taste without harming your health. Oat milk is full of fiber, vitamins, and minerals, making it a great base.
Cost-Effectiveness of Homemade Creamer
Homemade oil-free oat milk creamer is way cheaper than buying it. The ingredients are cheap and easy to find. This lets you save money and enjoy a creamer that’s just right for you.
Environmental Impact Benefits
Choosing homemade plant-based creamer is better for the planet. It cuts down on transportation and packaging. This makes it a greener choice that fits your eco-friendly values.
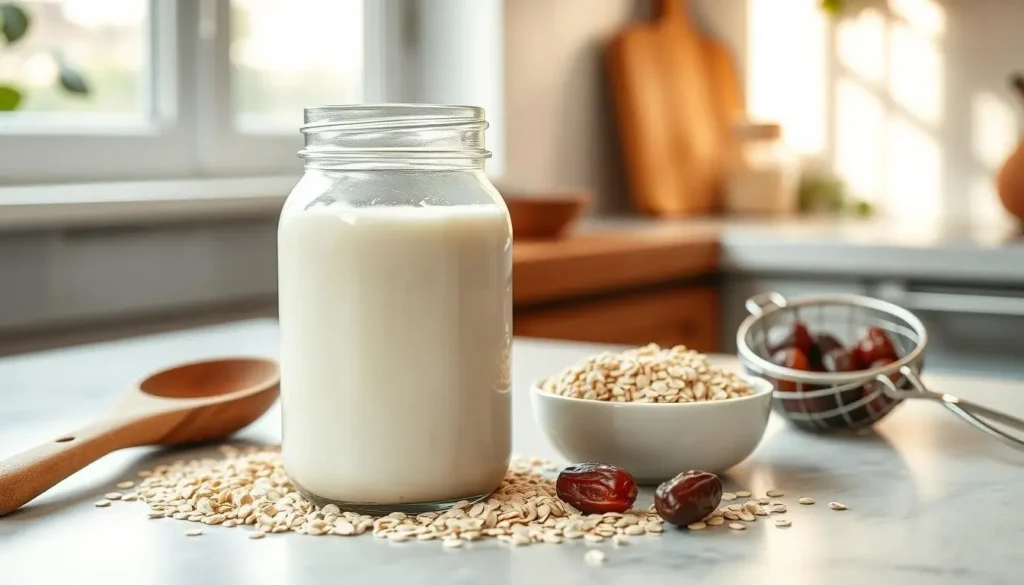
Essential Ingredients for Oil-Free Oat Creamer
Making a tasty oat milk coffee creamer at home is easy, without oil. You only need a few healthy ingredients. Let’s look at what you need to make the best vegan oat creamer without oil.
- Oats: Oats are the base of your creamer. They give it a creamy texture and a nutty taste. Use rolled or steel-cut oats for the best results.
- Water: Use filtered water to get the right creamer consistency. Adjust the water and oats to get the creaminess you like.
- Vanilla Extract: A little vanilla extract makes the flavor richer. It adds warmth and depth to your creamer.
- Sweetener (optional): If you want it sweeter, add a bit of maple syrup, agave, or your favorite sweetener.
- Salt (optional): A small amount of sea salt can balance the flavors. It also brings out the oats’ natural sweetness.
With these simple, oil-free ingredients, you can make a creamy, dairy-free creamer. It’s great for your morning coffee or tea. Try different ratios and flavors to find what you like best. Making a delicious oat milk coffee creamer at home is fun and easy.
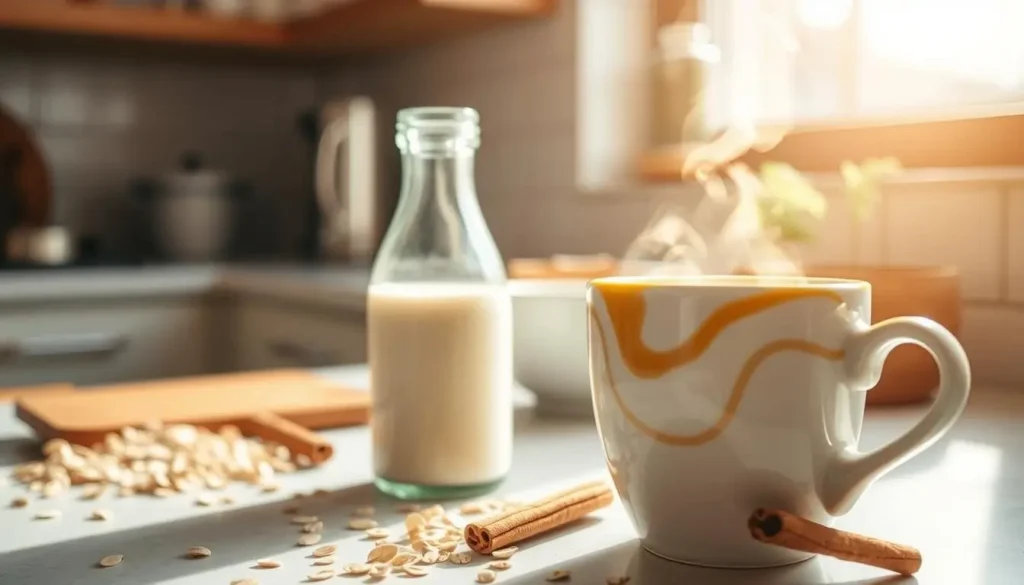
Required Kitchen Tools and Equipment
To make a tasty homemade oatmilk creamer without oil, you need some basic kitchen tools. Whether you’re an experienced cook or new to oatmilk creamer, the right tools are key. They help you get the perfect creamy texture.
Basic Equipment Needed
- Blender or food processor: A strong blender or food processor is essential. It blends the oats into a smooth, creamy mix.
- Cheesecloth or nut milk bag: These tools help strain the oatmilk. They remove any oat pulp for a silky-smooth creamer.
- Measuring cups and spoons: Accurate measurements are crucial for the homemade oatmilk creamer recipe.
- Airtight container: You’ll need a sealable jar or container to store your oatmilk creamer without oil.
It’s simple! Blend soaked oats and water, then strain. Want more oat goodness? Try Whip Up These No-Bake Peanut Butter Oatmeal Cookies in Just 10 Minutes!.
Optional Tools for Enhanced Results
While the basic tools are a must, some optional tools can improve your homemade oatmilk creamer experience:
- High-speed blender: A powerful high-speed blender can make your oatmilk creamer without oil even smoother and creamier.
- Nut milk bag with finer mesh: A nut milk bag with a tighter weave offers better filtration. This results in a silkier how to make oatmilk creamer without oil.
- Milk frother: Use a milk frother to gently aerate your creamer. This adds luxurious foam to your morning coffee or tea.
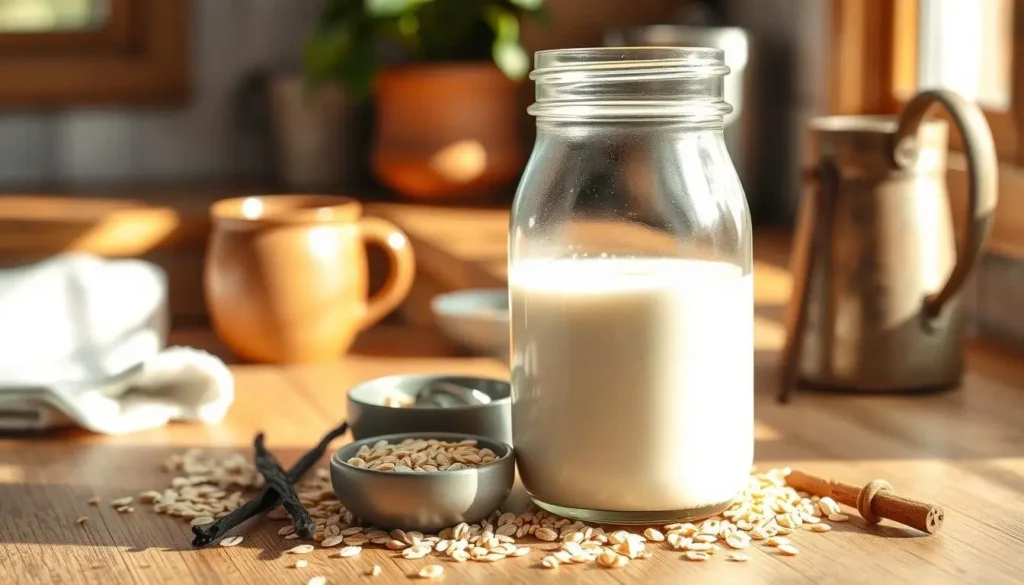
With the right tools and equipment, you’re ready to make a delicious, oil-free homemade oatmilk creamer. It will make your daily drinks even better.
How to Make Oatmilk Creamer Without Oil: Step-by-Step Guide
Making a tasty dairy-free oat milk creamer at home is simple. Follow this easy guide to make a rich, oil-free oat milk creamer for your coffee or tea. Let’s get started with the homemade oatmilk creamer recipe that will make your mornings better.
- Gather your ingredients: oats, water, and any optional sweeteners or flavorings you’d like to add.
- Soak the oats in water for at least 2 hours, or overnight, to soften them.
- Drain the soaked oats and rinse them thoroughly with fresh water.
- Add the soaked oats and fresh water to a high-speed blender. Blend on high for 1-2 minutes until the mixture is smooth and creamy.
- Strain the blended oat mixture through a fine-mesh sieve or cheesecloth to remove any remaining oat particles.
- Transfer the strained oat milk creamer to an airtight container and store it in the refrigerator for up to 5 days.
That’s it! With just a few simple steps, you can enjoy a delicious and oil-free oat milk creamer for your daily coffee or tea. Try different sweeteners, spices, or extracts to find your favorite flavor.

| Ingredient | Quantity |
|---|---|
| Oats | 1 cup |
| Water | 4 cups |
| Sweetener (optional) | 2-3 tablespoons |
| Vanilla extract (optional) | 1 teaspoon |
Tips for Achieving the Perfect Creamy Consistency
Making the perfect creamy oatmilk latte creamer is an art. With a few simple tricks, you can make your vegan oat creamer even creamier. Let’s uncover the secrets to a smooth plant-based creamer texture.
Temperature Control Methods
Temperature is key for your oatmilk latte creamer’s consistency. Heat the ingredients gently, avoiding high heat that can make it grainy. This careful heating ensures a silky and velvety texture.
Straining Techniques
Straining is crucial to remove particles and achieve a creamy oat creamer. Use a fine-mesh strainer or cheesecloth to strain well. This step ensures a smooth and lump-free creamer.
Storage Solutions
Keep your homemade oatmilk latte creamer in an airtight container in the fridge. This helps avoid the formation of a skin and keeps the texture smooth. You’ll enjoy the creamy texture you’ve worked for.
Mastering temperature, straining, and storage techniques will help you make the creamiest oatmilk latte creamer. Enjoy your homemade delight in your plant-based coffee and tea.
Common Mistakes to Avoid When Making Oat Creamer
Making a tasty homemade oatmilk creamer is rewarding. But, avoid common mistakes to get it right. When you try to make oatmilk creamer without oil, watch out for these issues to have a smooth process.
Overcooking the Oats
One big mistake is overcooking the oats. This makes the creamer grainy and not creamy. Cook the oats carefully to avoid a mushy texture.
Neglecting Proper Straining
Straining well is key for a smooth homemade oatmilk creamer recipe. Not straining enough can make it gritty. Use a fine-mesh sieve or cheesecloth to get a creamy result.
Skimping on Sweeteners
While you can make oatmilk creamer without sweeteners, some like a bit of sweetness. Not adding enough can make it taste flat. Add the right amount of sweetener for flavor.
Improper Storage
Storing your homemade oatmilk creamer right is important. Not storing it in an airtight container or refrigerating it can spoil it faster. Follow storage tips to keep it fresh.
By avoiding these mistakes, you can make a great homemade oatmilk creamer. Enjoy the process, try different flavors, and enjoy your homemade creations.
Oatmilk Creamer Without Oil Recipe
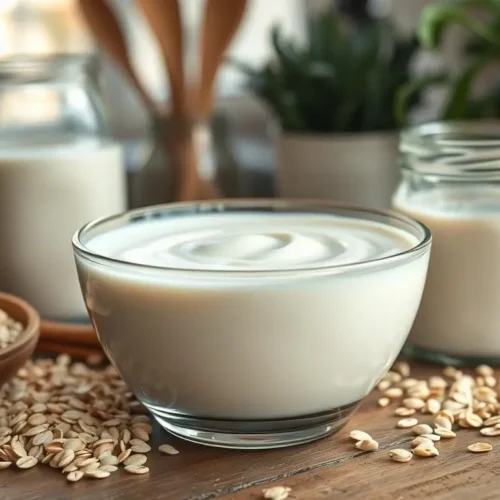
Oatmilk Creamer Without Oil
Ingredients
- 1 cup rolled oats or steel-cut oats
- 4 cups filtered water
- 1-2 tablespoons maple syrup optional, for sweetness
- 1 teaspoon vanilla extract optional, for extra flavor
- A pinch of sea salt optional, to balance flavors
Instructions
- Soak the Oats: Start by soaking your oats in water for at least 2 hours, or overnight if you prefer. This softens them and makes them easier to blend, ensuring a creamy texture.
- Blend the Oats: Drain and rinse the soaked oats, then place them in a blender. Add 4 cups of filtered water and blend on high for 1-2 minutes until smooth.
- Strain the Mixture: Pour the blended oat mixture through a fine-mesh sieve, nut milk bag, or cheesecloth to remove any oat pulp. This ensures your creamer is smooth and silky.
- Sweeten and Flavor (Optional): If you like your creamer a little sweeter, add 1-2 tablespoons of maple syrup or your favorite sweetener. A teaspoon of vanilla extract can also be added for extra flavor, along with a pinch of sea salt to enhance the oats’ natural sweetness.
- Store and Enjoy: Pour your fresh oatmilk creamer into an airtight container and store it in the fridge for up to 5 days. Shake well before each use, as the creamer may naturally separate.
You only need oats, water, and sweeteners to make the creamer. For another tasty oat-based recipe, check out my Easy Peanut Butter Oatmeal Cookie Recipe.
Creative Ways to Flavor Your Homemade Oat Creamer
It’s easy to make your oat milk creamer better with a few simple steps. Try out natural sweeteners and seasonal flavors to make a special coffee friend.
Natural Sweetener Options
Forget refined sugars and go for these healthy sweeteners. They add depth and complexity to your oat creamer:
- Maple Syrup – A classic choice that pairs beautifully with the nutty notes of oat milk.
- Honey – Offers a touch of floral sweetness to balance the creaminess.
- Dates – Blend pitted dates into the creamer for a caramel-like flavor.
- Vanilla Extract – Just a splash can elevate the aroma and taste of your oat milk coffee creamer.
Seasonal Flavor Variations
Let the seasons guide you in adding festive flavors to your healthy oat creamer. Spices, fruits, and herbs can turn your creamer into a true delight:
- Pumpkin Spice – Add a pinch of cinnamon, nutmeg, and ginger for a cozy, autumnal twist.
- Cranberry Orange – Simmer fresh or frozen cranberries with orange zest and a touch of sweetener.
- Minty Chocolate – Blend in unsweetened cocoa powder and a few drops of peppermint extract for a decadent vegan oat creamer.
- Lavender Vanilla – Steep dried lavender buds in the oat milk base, then add vanilla for a soothing, floral treat.
With these ideas, you can make a oat milk coffee creamer that’s healthy, dairy-free, and just right for you. Try different mixes to find your perfect flavor.
Shelf Life and Storage Guidelines
Proper storage and shelf life are key for homemade oatmilk latte creamer. Unlike store-bought non-dairy creamer, your homemade oatmilk creamer recipe needs extra care. This ensures it stays fresh and safe to use.
Your homemade oatmilk creamer can last 3-5 days in the fridge. To keep it fresh, use an airtight container and keep it cold. Watch for any signs of spoilage like bad smells or texture changes. If you see these, it’s time to throw it away.
For longer storage, freeze your oatmilk latte creamer for up to 2 months. Transfer it into an ice cube tray or a container that’s safe for freezing. When you’re ready, thaw the frozen cubes in the fridge overnight. Stir well before using it in your drinks.
- Refrigerator shelf life: 3-5 days
- Freezer shelf life: Up to 2 months
- Look for signs of spoilage, such as off-putting smells or texture changes
- Store in airtight containers for optimal freshness
By following these storage tips, you can enjoy your homemade oatmilk creamer for longer. It will stay a tasty and easy part of your latte or coffee every day.
Conclusion
Making your own dairy-free oat milk creamer at home is a great choice. It’s healthier, cheaper, and better for the planet. With this guide, you can make a tasty, creamy plant-based creamer that fits your taste and diet.
Homemade oil-free oat milk creamer is good for you and the environment. You can also try different flavors and sweeteners. Whether you like it plain or with a twist, you can make it your way.
We suggest you give this recipe a try. Making your own dairy-free oat milk creamer has many benefits. It’s convenient, saves money, and is better for the planet. Enjoy making your own and happy blending!
FAQ
What is the process for making oil-free oat milk creamer at home?
Making oil-free oat milk creamer at home is easy. Start by soaking oats. Then, blend them with water. Strain the mix and add sweeteners or flavorings as you like. This way, you get a dairy-free, vegan, and healthier creamer than store-bought ones.
What are the benefits of making homemade oat milk creamer without oil?
Making oil-free oat milk creamer at home is good for your health and wallet. It’s also better for the planet. Homemade creamers avoid added oils and preservatives, making them healthier. They’re also cheaper and come in less packaging, reducing waste.
What are the essential ingredients needed to make oil-free oat milk creamer?
You need rolled oats, water, and sweeteners or flavorings for oil-free oat milk creamer. Vanilla extract or a pinch of salt can also be added to improve taste and texture.
What kitchen tools and equipment are required to make homemade oat milk creamer?
You’ll need a high-speed blender, a nut milk bag or strainer, and containers for storage. Optional tools include a scale, saucepan, and funnel for better results.
How do I make the perfect creamy oat milk creamer at home?
For creamy oat milk creamer, control the temperature and strain well. Blend and heat carefully. Store it in the fridge for a rich, creamy texture.
What common mistakes should I avoid when making oat milk creamer?
Avoid using the wrong oats, over-blending, and not straining well. Also, don’t store it wrong. Use the right ingredients, blend right, and store properly to avoid mistakes.
How can I flavor my homemade oat milk creamer?
Add natural sweeteners like maple syrup or dates for flavor. Try seasonal spices like pumpkin spice or cinnamon. Mix different flavors to find your favorite.
How long does homemade oat milk creamer last, and how should I store it?
Homemade oat milk creamer lasts 4-5 days in the fridge. Store it in an airtight container. Freeze parts for longer storage. Always check for spoilage before using.

