
A warm kitchen light, the sizzle of seasoned beef hitting a hot pan, and the first bite when a crispy, butter-brushed tortilla gives way to molten cheese and tangy pickles, that is the kind of comfort Crispy Cheeseburger Wraps bring to the table. They are perfect for weeknight dinners when you want something fast and satisfying, or for casual gatherings where everyone can grab a handheld that tastes like a cheeseburger hugged by a crunchy, golden shell. If you love easy, flavor-forward wraps, you might also enjoy this similar family favorite, Cheesy Garlic Chicken Wraps, which swaps beef for tender chicken and a garlicky butter finish.
What Makes This Special
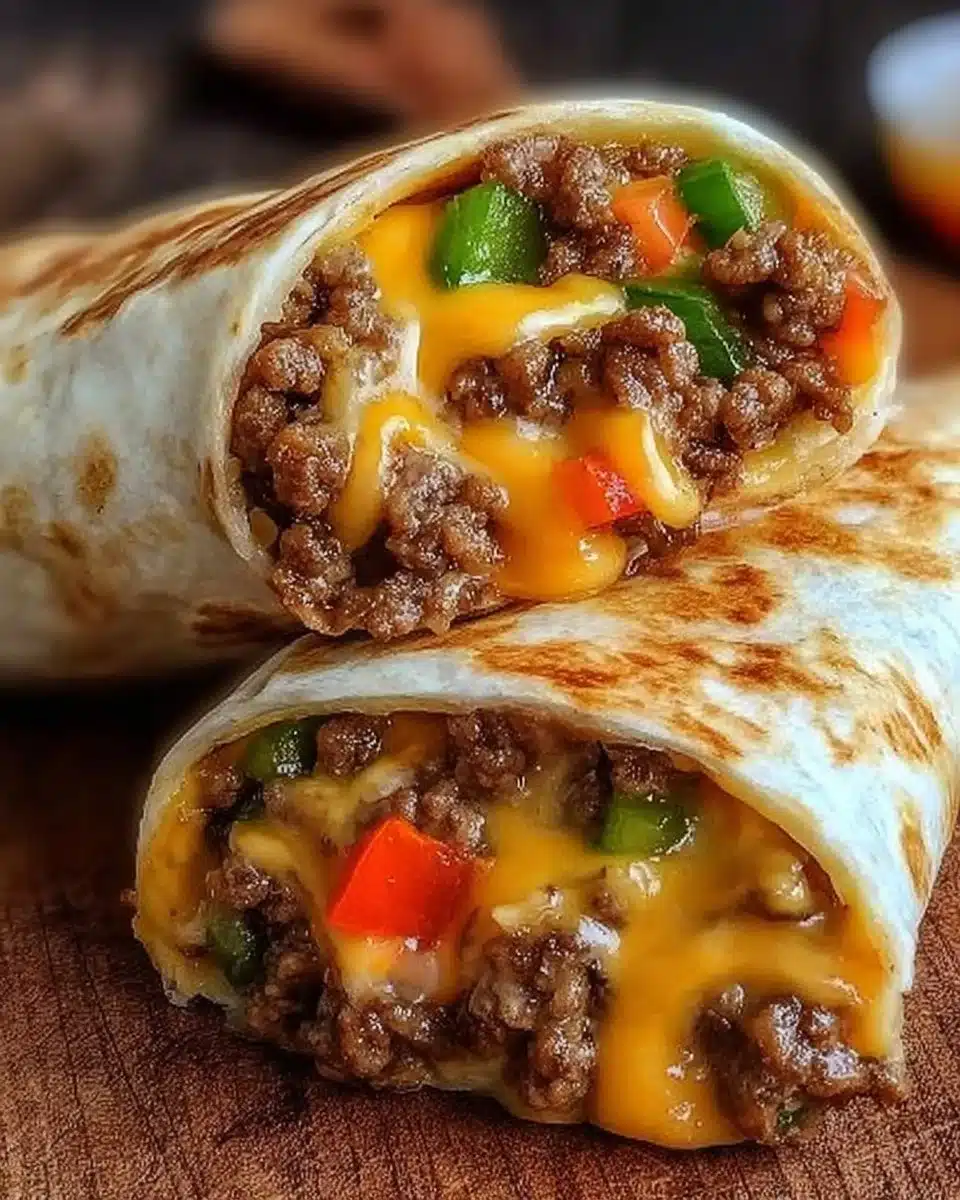
These Crispy Cheeseburger Wraps shine because they combine the familiar flavors of a cheeseburger with a crisp, toasted tortilla. The contrast between the warm, slightly saucy beef and the thin, crackling shell creates a delightful play of textures that keeps each bite interesting. They come together quickly, which makes them a weekday hero, yet they look and taste special enough for weekend company.
Why you will reach for them again and again
- The crunch from the toasted tortilla is irresistible, while the melted cheese ties everything together.
- They are portable, tidy, and ideal for lunchboxes or picnic-style meals.
- Customizable fillings mean you can keep them classic, or give them a fresher, spicier twist.
What You’ll Need
The ingredients below give you all the building blocks for authentic cheeseburger flavor in a crispy package. The beef provides rich, juicy foundation, the cheese and condiments deliver that diner vibe, and the quick butter brush helps the tortilla turn golden and crackly in the air fryer. If you ever want a bit of smoky bacon flavor, swap in turkey bacon for a lighter, leaner touch.
450g Rinderhackfleisch (80/20 Mischung für optimale Saftigkeit)
4 große Mehl-Tortillas (25cm Burrito-Größe)
4 Scheiben Schmelzkäse
16 Gewürzgurkenscheiben, abgetropft
4 Esslöffel Mayonnaise
4 Esslöffel Ketchup
2 Esslöffel ungesalzene Butter, geschmolzen
Salz nach Geschmack
Schwarzer Pfeffer nach Geschmack
Knoblauchpulver nach Geschmack
Optional notes, use sparingly: choose tortillas that feel thin but sturdy, they crisp best. If you want a lighter creamy base, mix half mayo and half Greek yogurt instead of all mayonnaise.
How to Cook Crispy Cheeseburger Wraps
- Heat a large skillet over medium heat until it is hot enough to make a small drop of water dance and evaporate. Add the Rinderhackfleisch, break it up with a spatula, and let it brown, stirring and turning so more surface area touches the pan. You will smell a savory, meaty aroma as the beef caramelizes, which signals good flavor development.
- Season the meat with salt, black pepper, and a dusting of garlic powder, and continue to cook for about 8 to 10 minutes until it is thoroughly browned with no pink visible. The edges should develop tiny, flavorful brown bits, the look that tells you the beef is ready.
- Pour off any excess fat, then set the meat aside to cool just enough so it will not melt the cheese or sauce when assembled. Cooling slightly helps the filling hold together better inside the wrap.
- Stack the tortillas on a microwave-safe plate and cover them with a damp kitchen towel, then microwave for 20 to 25 seconds until they are warm and supple. They should feel soft and bendable, which prevents tearing when you roll them.
- Lay one warmed tortilla flat on a clean surface. In the center, spread 1 tablespoon of mayonnaise and 1 tablespoon of ketchup in a stripe. The condiments add moisture and that familiar cheeseburger tang.
- Arrange 4 pickle slices in a line along the center, then place 1 slice of Schmelzkäse on top, and mound about 125g of the cooked beef over the cheese. Keeping the filling centered makes wrapping easier.
- Fold the sides of the tortilla inward, then roll from the bottom up tightly, tucking the filling in as you go, and finish with the seam tucked underneath. Place the wrapped seam side down to help them stay closed. The wrap should look neat and compact.
- Brush each wrap with a little melted butter using a pastry brush, coating the outside evenly so the tortilla will turn golden. Preheat your air fryer to 193°C, then arrange the wraps in the basket seam side down, leaving space so they do not touch.
- Air fry for 5 minutes until the tortillas are golden brown and crisp, watching for even browning and a delicate crackle when you tap the shell. You will smell a toasty, buttery scent as they finish.
- Immediately after frying, brush once more with melted butter for extra gloss and flavor, then allow the wraps to rest for 2 minutes so the filling sets slightly. Cut diagonally and serve while the cheese is gooey, the beef is warm, and the tortilla still has a satisfying crunch.
Prep ~15 minutes, Cook ~15 minutes, Total ~30 minutes, Servings ~4, Kcal ~550 per wrap, estimate.
Make-Ahead and Prep Tips
You can streamline evening cooking by doing a few things ahead of time. Brown the beef up to 3 days in advance, cool it quickly, and store it in an airtight container in the refrigerator. Keep condiments measured into small containers, and slice pickles the day before so assembly is fast. Tortillas are best warmed just before rolling to avoid tearing, but you can warm and stack them, separated by parchment, and keep them wrapped in a towel for up to a few hours.
To assemble later, rewarm the meat gently in a skillet with a splash of water or a short burst in the microwave so it is warm but not steaming hot. Brush with butter and crisp in the air fryer just before serving for maximum crunch. If you plan to make a large batch for a party, assemble all wraps un-toasted, refrigerate on a tray covered with plastic wrap, then crisp in batches in the air fryer when guests arrive.
Storing and Reheating
Refrigerate cooked wraps in an airtight container for up to 3 days. To maintain texture, store them in a single layer or between parchment sheets, and do not wet them before refrigerating. For longer storage, wrap each cooled wrap tightly in plastic wrap, place in a freezer bag, and freeze for up to 2 months.
To reheat refrigerated wraps, preheat your air fryer or oven, then warm at 175°C for 3 to 6 minutes until the tortilla regains crispness and the interior is heated through. If reheating from frozen, allow the wraps to thaw overnight in the refrigerator, then crisp as above, or reheat from frozen at 175°C for about 10 to 12 minutes, turning once if needed. A clear freshness cue is the tortilla texture, crisp and golden, which indicates the wrap is ready to enjoy again.
Perfect Pairings
- Shoestring sweet potato fries or classic fries for a diner-style meal.
- A simple green salad with a tangy vinaigrette to cut through the richness.
- Crisp slaw made with cabbage and apple for a refreshing contrast.
- A bowl of tomato soup or a light, roasted tomato bisque for cozy dipping.
- Pickle spears and extra ketchup on the side for nostalgic charm.
Make It Your Own
There are many small changes you can make to personalize Crispy Cheeseburger Wraps while keeping the spirit intact. For a smoky twist, add a few slices of cooked turkey bacon for texture and a hint of smokiness without pork. Swap Schmelzkäse for shredded sharp cheddar or a melty Monterey Jack if you prefer a bolder cheese profile. Mix finely chopped onions or shallots into the cooked beef while it rest for a fresher bite that blends with the warm meat. Add sliced jalapeños or a dash of hot sauce to the condiments if you like heat, or fold in some chopped lettuce after frying for a crisp, cool contrast. If you want to explore a slightly different handheld that still celebrates beef and buttered, toasted dough, try these Garlic Butter Beef Cheeseburger Rollups, which take the same flavor family in a different direction, Garlic Butter Beef Cheeseburger Rollups.
Pro Tips for Best Results
- Use 80 20 ground beef for juiciness, the fat helps achieve great flavor and texture during browning.
- Give the meat time to brown without crowding the pan, work in batches if needed so you get those caramelized bits.
- Warm tortillas just enough to make them pliable, not steaming, otherwise they will be too soft to crisp properly.
- Brush with butter right before and after air frying for a deep golden color and that glossy finish.
- Leave space between wraps in the air fryer basket so hot air can circulate and crisp each one evenly.
- Let the wraps rest for a minute or two after frying, the filling will set and cut more cleanly.
Frequently Asked Questions
-
Can I use leaner ground beef than 80 20?
Yes, you can use leaner ground beef, but the wraps will be less juicy and may taste drier. If you choose lean beef, consider adding a splash of broth or a teaspoon of olive oil while reheating to keep the filling moist. -
Can I make these without an air fryer?
Absolutely, use a conventional oven set to 205°C and bake the butter-brushed wraps on a baking sheet for about 8 to 10 minutes until golden and crisp. You can also pan fry them in a skillet over medium heat for 2 to 3 minutes per side, pressing gently to get even browning. -
Are these safe to freeze, and how do they reheat best from frozen?
Yes, freeze tightly wrapped for up to 2 months. Thaw overnight in the fridge and re-crisp in the air fryer or oven at 175°C for 5 to 8 minutes. From frozen, bake at 175°C for 10 to 12 minutes until heated through. -
Can I make these vegetarian or plant based?
You can substitute seasoned plant-based ground meat or crumbled, sautéed mushrooms and lentils for the beef to create a vegetarian version. Make sure the cheese and mayonnaise are plant-based if you want a fully vegan wrap. -
How do I prevent the tortilla from getting soggy?
Keep the condiment layer thin and centered, avoid spreading wet ingredients too close to the edges, and air fry or oven-crisp shortly before serving. A thin barrier of cheese between the pickle and tortilla also helps reduce sogginess. -
What is the best way to keep the filling from spilling when I roll them?
Spread fillings in a compact line down the center and fold the sides in first to trap the ends. Roll tightly and place seam side down to seal before crisping, and brush with butter to help the seam adhere during cooking.
Final Thoughts
Crispy Cheeseburger Wraps are a joyful mashup of comfort flavors and satisfying textures, easy enough for busy nights and impressive enough for casual get-togethers. They hit the sweet spot between indulgent and practical, offering melty cheese, savory beef, and a crunchy, buttery shell in every bite. Make a batch, experiment with the swaps and extras suggested here, and enjoy how quickly these wraps become a favorite in your weeknight rotation.
Print
Crispy Cheeseburger Wraps
- Total Time: 30
- Yield: 4 servings 1x
- Diet: Non-Vegetarian
Description
Crispy Cheeseburger Wraps offer a delightful combination of cheeseburger flavors wrapped in a crunchy, golden tortilla. Perfect for quick weeknight dinners or casual gatherings.
Ingredients
- 450g ground beef (80/20 blend for optimal juiciness)
- 4 large flour tortillas (25cm burrito size)
- 4 slices of processed cheese
- 16 slices of pickles, drained
- 4 tablespoons mayonnaise
- 4 tablespoons ketchup
- 2 tablespoons unsalted butter, melted
- Salt to taste
- Black pepper to taste
- Garlic powder to taste
Instructions
- Heat a large skillet over medium heat until hot. Add ground beef, breaking it up and browning for about 8 to 10 minutes. Season with salt, pepper, and garlic powder.
- Pour off excess fat and let the beef cool slightly.
- Warm tortillas in the microwave for 20 to 25 seconds until soft.
- Spread 1 tablespoon each of mayonnaise and ketchup in the center of each tortilla. Layer with pickles, cheese, and 125g of beef.
- Fold the sides of the tortilla inward and roll tightly. Brush the outside with melted butter.
- Preheat the air fryer to 193°C and place the wraps seam side down. Air fry for 5 minutes until golden and crisp.
- Brush with additional butter after frying and let them rest for 2 minutes before serving.
Notes
Choose tortillas that are thin but sturdy for the best crisp. You can mix half mayo and half Greek yogurt for a lighter creamy base.
- Prep Time: 15
- Cook Time: 15
- Category: Main Course
- Method: Air Frying
- Cuisine: American
Nutrition
- Serving Size: 1 wrap
- Calories: 550
- Sugar: 3g
- Sodium: 700mg
- Fat: 30g
- Saturated Fat: 12g
- Unsaturated Fat: 15g
- Trans Fat: 0g
- Carbohydrates: 45g
- Fiber: 2g
- Protein: 30g
- Cholesterol: 80mg
Keywords: cheeseburger, wraps, beef, easy dinner, comfort food